Setting up your own Gitea instance on a VPS might sound daunting, but trust me, it's more straightforward than you think! By following this guide, you'll have your private Git server up and running in no time.
This is quite a fun project that offers significant benefits! By the end of this tutorial, you will have unparalleled control over your source code, your data, and your team's collaboration workflow.
Here is the plan for today:
- Install Gitea on a VPS with a fresh Ubuntu 24.04 installation
- Configure Gitea with SQLite 3
- Set up HTTPS with Nginx and Let's Encrypt
So, grab your terminal, pour yourself a cup of coffee, and let's get started on bringing your Git hosting in-house.
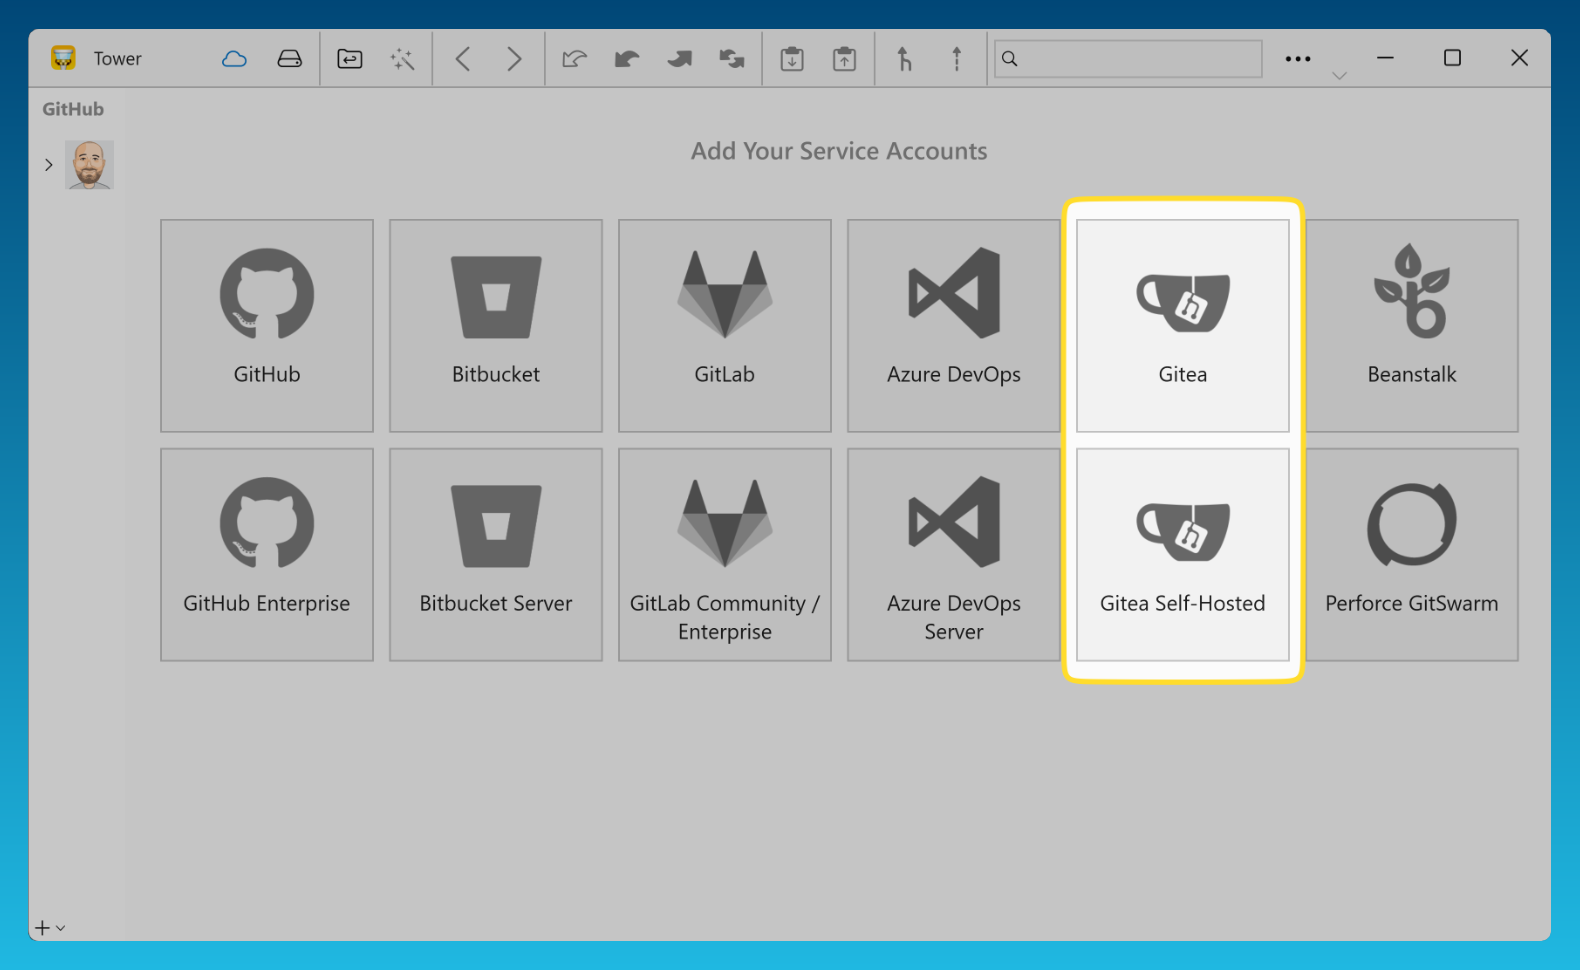
📣 We are celebrating the Tower 9.1 for Windows release, which brings full Gitea support. This means that you can now manage your repositories and pull requests directly in our Git client!
Preparing Your VPS: The Groundwork
Before we install Gitea, we need to ensure our VPS is ready. For this tutorial, we'll assume you're using a fresh Ubuntu 24.04 LTS instance, which is a popular and stable choice.
1. Connect to Your VPS via SSH
First things first: open your terminal and connect to your VPS. Replace your_username and your_vps_ip with your actual login details:
ssh your_username@your_vps_ipIf this is your first time connecting, you might be prompted to confirm the host's authenticity. Type yes and press Enter.
2. Update Your System
It's always a good practice to update your package lists and upgrade any existing packages to their latest versions:
sudo apt update && sudo apt upgrade -y3. Install Required Dependencies
Gitea requires Git, a database, and a few other packages. We'll use SQLite3 for simplicity in this tutorial, but for larger deployments, you might consider PostgreSQL or MySQL.
sudo apt install git sqlite3 -y4. Create a Git User for Gitea
Gitea runs best under its own dedicated user. This enhances security by isolating the Gitea process.
adduser \
   --system \
   --shell /bin/bash \
   --gecos 'Git Version Control' \
   --group \
   --disabled-password \
   --home /home/git \
   git
This command creates a new system user named git with a home directory at /home/git.
Installing Gitea
Now that the groundwork is laid, let's get Gitea onto your server! We'll download the official binary, which is the easiest way to get up and running.
1. Download the Gitea Binary
First, please check the official Gitea documentation for the latest stable release. Look for the Linux AMD64 static binary. As of writing, the latest stable version is 1.23.8.
wget -O gitea https://dl.gitea.com/gitea/1.23.8/gitea-1.23.8-linux-amd64Now, we will make the binary executable and copy it to a more appropriate folder: /usr/local/bin/gitea
chmod +x gitea
cp gitea /usr/local/bin/gitea
2. Create Necessary Directories
Gitea needs specific directories for its configuration, logs, and repositories.
mkdir -p /var/lib/gitea/{custom,data,log}
chown -R git:git /var/lib/gitea/
chmod -R 750 /var/lib/gitea/
mkdir /etc/gitea
chown root:git /etc/gitea
chmod 770 /etc/gitea
⚠️ Please note that /etc/gitea is temporarily set with write permissions so that the web installer can write the configuration file. After the installation is finished, we should change these permissions to read-only using:
chmod 750 /etc/gitea
chmod 640 /etc/gitea/app.ini
3. Create a Systemd Service for Gitea
Running Gitea as a systemd service ensures it starts automatically on boot and can be managed easily.
Create a new service file:
sudo nano /etc/systemd/system/gitea.servicePaste the following content into the file. Pay close attention to the WorkingDirectory and ExecStart paths:
[Unit]
Description=Gitea (Git with a cup of tea)
After=syslog.target network.target

[Service]
RestartSec=2s
Type=simple
User=git
Group=git
WorkingDirectory=/var/lib/gitea/
ExecStart=/usr/local/bin/gitea web --config /etc/gitea/app.ini
Restart=always
Environment=USER=git HOME=/home/git GITEA_WORK_DIR=/var/lib/gitea

[Install]
WantedBy=multi-user.target
Save and exit (Ctrl + X, Y, Enter).
4.. Enable and Start the Gitea Service
sudo systemctl enable gitea
sudo systemctl start gitea
sudo systemctl status gitea
You should see output indicating that the Gitea service is active (running). If not, check the logs with journalctl -u gitea.
Initial Gitea Configuration (Web Interface)
Gitea is now running! You can access its web installer to complete the setup.
1. Access the Web Installer
By default, Gitea listens on port 3000. Open your web browser and navigate to http://your_vps_ip:3000.
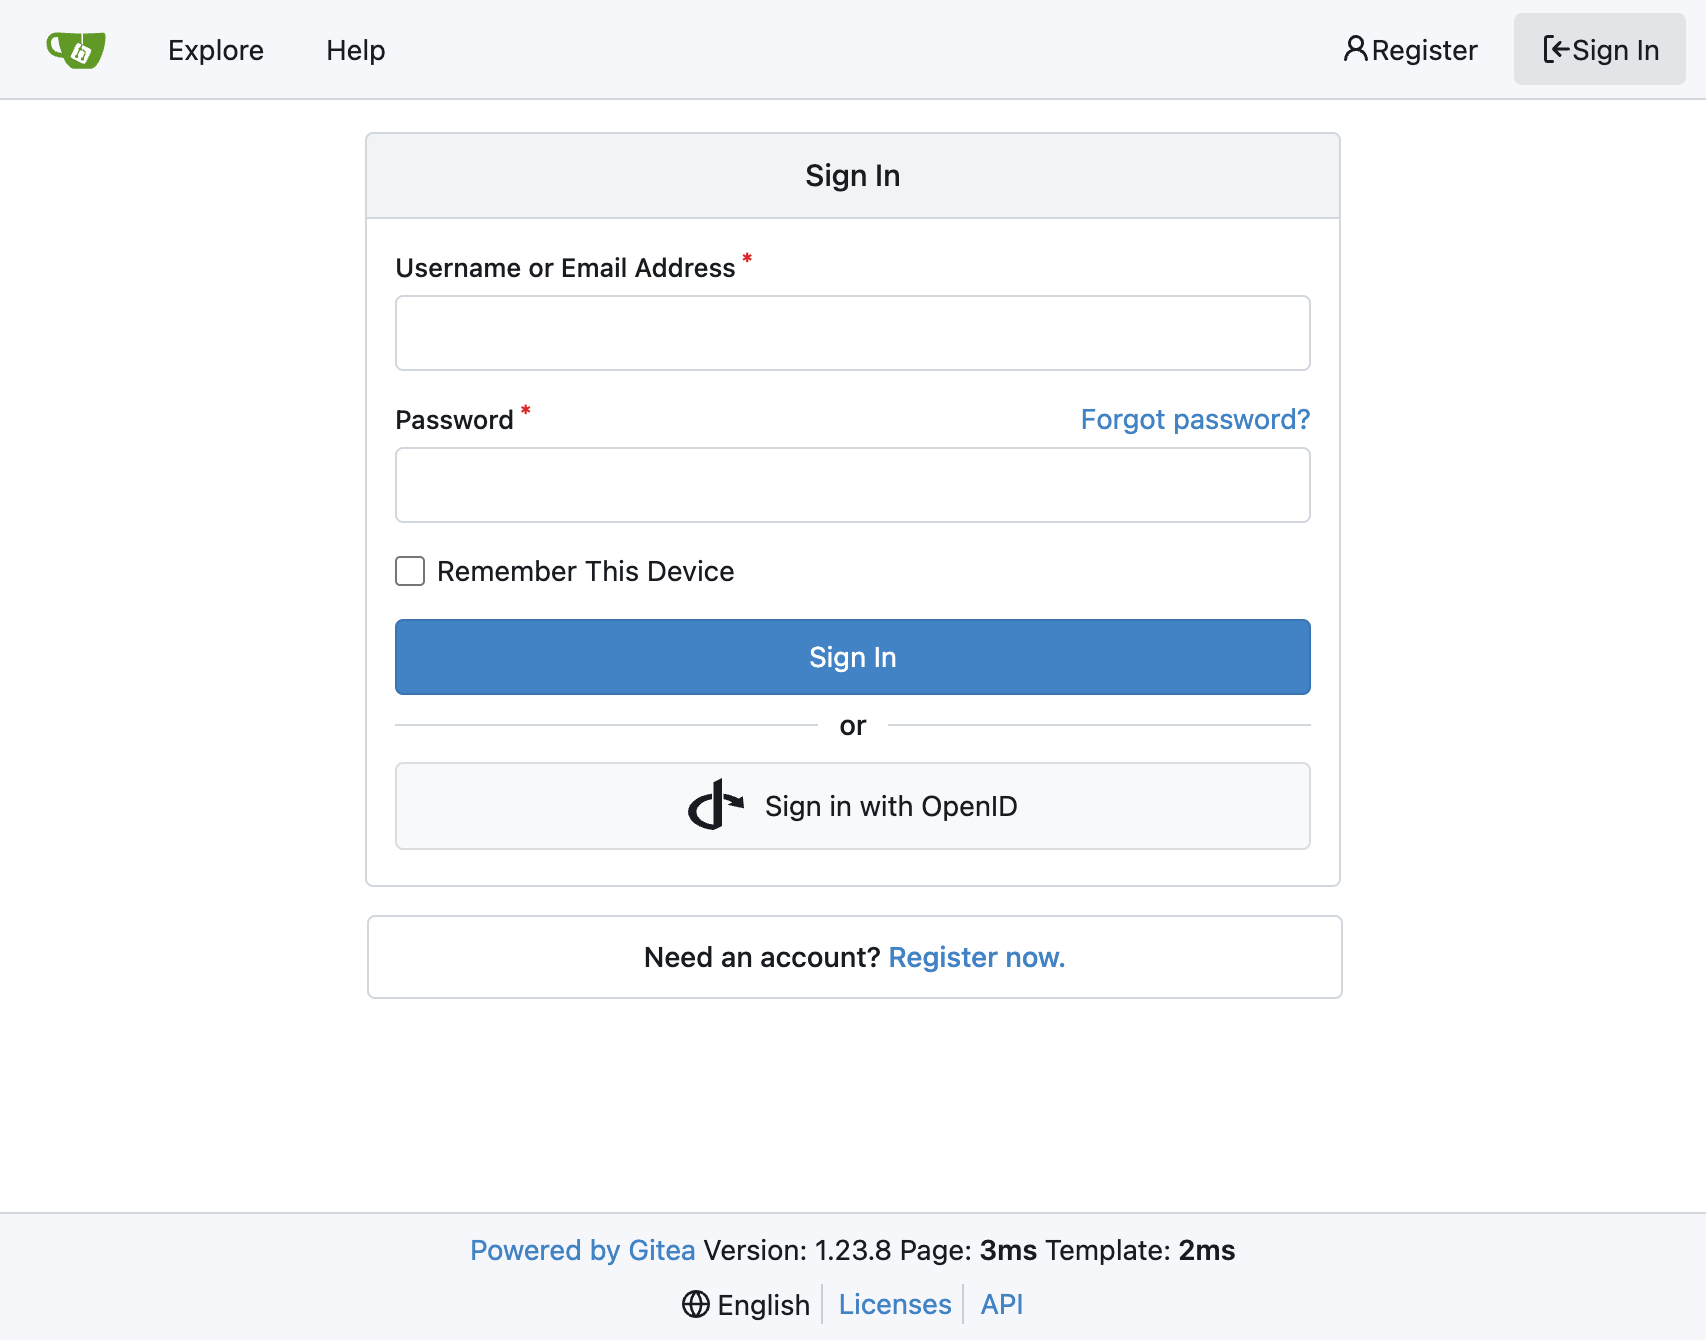
You'll be greeted by the Gitea installation page. Feel free to review each field, but there's only one key setting that you should change: the Database type.
- Database Type: SQLite3
Click "Install Gitea". This process will create the app.ini configuration file in /etc/gitea.
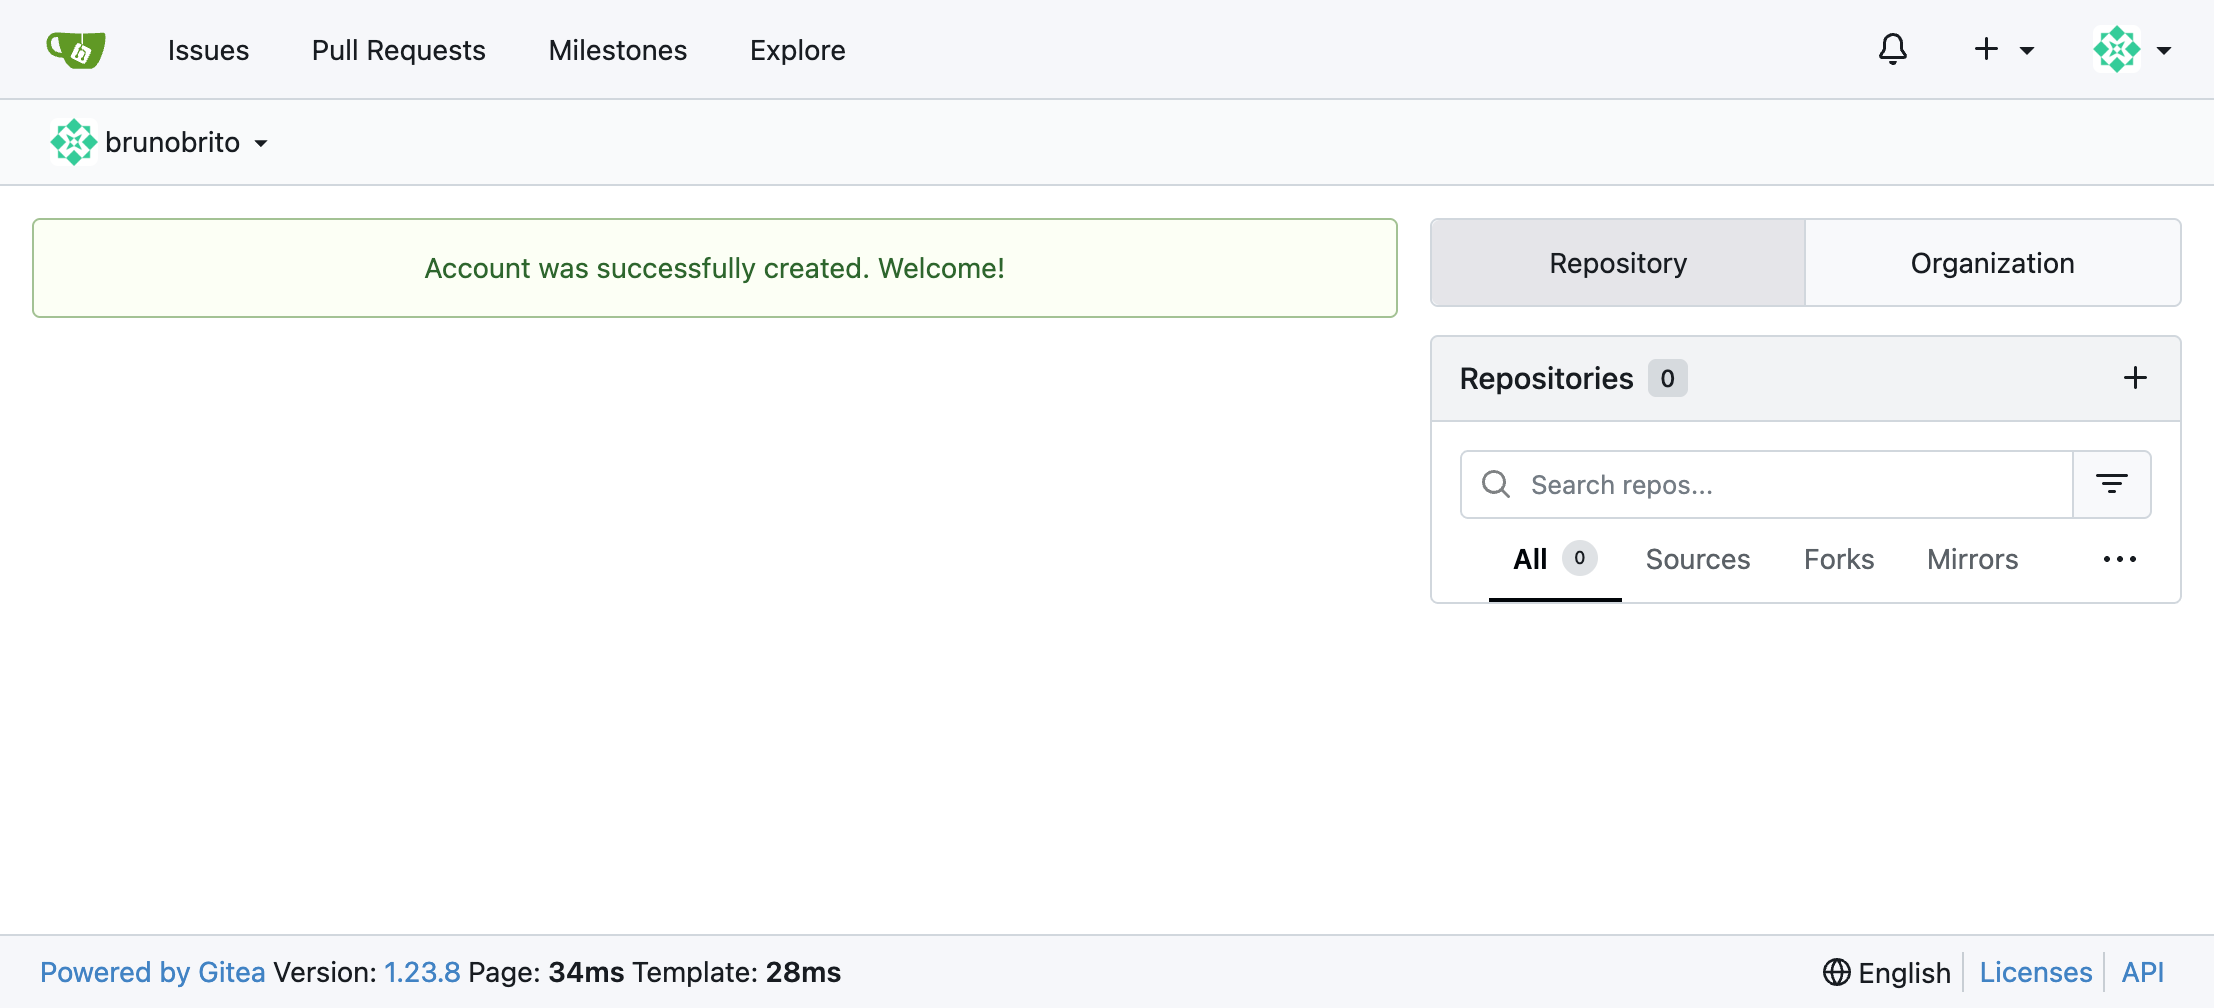
After the installation, it's time to register your first user, which will be the administrator account. Simply click on "Register Now" and enter a username, email address, and password.

Success! You should now have access to the Gitea dashboard! 🎉

Setting Up HTTPS with Nginx and Let's Encrypt
Having Gitea running is great, but accessing it via http://your_vps_ip:3000 isn't very secure or user-friendly. We want to access it via https://gitea.mywebsite.com. This requires a web server (Nginx) acting as a reverse proxy and an SSL certificate (from Let's Encrypt).
1. Point Your Domain to Your VPS
Before proceeding, make sure your domain's DNS records are set up. Create an A record for gitea.mywebsite.com that points to your VPS's public IP address. DNS changes can take some time to propagate.
2. Install Nginx
Nginx will be our web server that handles incoming requests on port 80 and 443 and forwards them to Gitea running on port 3000.
sudo apt install nginx -y3. Configure Nginx as a Reverse Proxy
Create a new Nginx configuration file for your Gitea site:
sudo nano /etc/nginx/sites-available/gitea.confPaste the following configuration. Replace gitea.mywebsite.com with your actual domain.
server {
    listen 80;
    server_name gitea.mywebsite.com;

    location / {
        proxy_pass http://localhost:3000;
        proxy_set_header Host $host;
        proxy_set_header X-Real-IP $remote_addr;
        proxy_set_header X-Forwarded-For $proxy_add_x_forwarded_for;
        proxy_set_header X-Forwarded-Proto $scheme;
    }
}
Save and exit.
4. Enable the Nginx Site and Test Configuration
Create a symbolic link to enable the site:
sudo ln -s /etc/nginx/sites-available/gitea.conf /etc/nginx/sites-enabled/Test your Nginx configuration for syntax errors:
sudo nginx -tIf it reports "syntax is ok" and "test is successful", reload Nginx to apply the changes:
sudo systemctl reload nginxNow, if you navigate to http://gitea.mywebsite.com (without the :3000 port), you should see your Gitea instance!
5. Install Certbot (for Let's Encrypt SSL)
Time for SSL! Let's install Certbot, a tool that automates obtaining and renewing Let's Encrypt SSL certificates.
sudo apt install certbot python3-certbot-nginx -y6. Obtain and Install SSL Certificate
Now run this command, once again replacing gitea.mywebsite.com with your own domain.
sudo certbot --nginx -d gitea.selfhostfun.winCertbot will guide you through the process interactively. It will ask for your email and require you to agree to the terms of service.
Once that is done, Certbot will automatically modify your Nginx configuration to include the SSL certificates and force HTTPS.
7. Update Gitea's Base URL in app.ini
Finally, we need to tell Gitea that it's now accessible via HTTPS. Edit Gitea's main configuration file:
sudo nano /etc/gitea/app.iniFind the [server] section and change the ROOT_URL to your HTTPS domain:
[server]
PROTOCOL = http
DOMAIN = gitea.mywebsite.com
ROOT_URL = https://gitea.mywebsite.com/
HTTP_PORT = 3000Note: Keep PROTOCOL = http and HTTP_PORT = 3000 because Nginx is handling the HTTPS part and forwarding to Gitea's internal HTTP port. The ROOT_URL is what Gitea uses for generating links internally.
Save and exit.
8. Restart Gitea to Apply Changes
sudo systemctl restart giteaAll Done!
Congratulations! You should now have your very own Gitea instance running securely on your VPS, accessible via https://gitea.mywebsite.com!

You've taken full control of your Git hosting, providing a private, powerful, and efficient platform for your team's code collaboration. No more relying solely on public cloud services when you have the power to host your code exactly how you want it!
With your Gitea instance up and running, you can now seamlessly integrate it with Tower for Windows 9.1, bringing all the power of your self-hosted Git repositories and pull requests right to your desktop 😎

We hope you found this post helpful. For more Git tips and tricks, don't forget to sign up for our newsletter below and follow Tower on Twitter / X and LinkedIn! ✌️
Join Over 100,000 Developers & Designers
Be the first to know about new content from the Tower blog as well as giveaways and freebies via email.
