Git Bash is a very popular package for Windows. As the name suggests, it includes not only Git, a Version Control System for tracking code changes, but also Bash, a UNIX command line shell. In this guide, let's install Git Bash to get you up and running with Git!
Before we get started, let's understand why we need to install Git Bash. Couldn't we just use CMD or Windows PowerShell to work with Git?
Git is a combination of command line programs that were built to execute on a Unix environment. Operating systems based on Unix, like Linux or macOS, come with Bash (Bourne Again SHell), which ensures that Git runs smoothly across these systems.
Windows is not included in this list (it's a DOS-based operating system), so it doesn't support Git out of the box. This is solved by — you guessed it! — installing Git Bash, which will provide the necessary emulation to access all the command line tools Git needs. You will also be able to use other useful Bash utilities, such as ssh, cat, scp or nano.
Now that you understand why you need Git Bash, it's time to download and install it!
How to Install Git Bash on Windows
Let's start by downloading the Git Bash executable from the official website. You should quickly notice the "download" area on the right.

Once the download is finished, run the installer (make sure you have Windows administrator privileges). After allowing the app to make changes to your Windows device and reading the GNU General Public License, the Git Bash installation wizard will prompt you some questions.
The default options should be fine for most users, but there are a couple of questions worthy of your attention. Let's have a look at these before clicking "Next" blindfold.
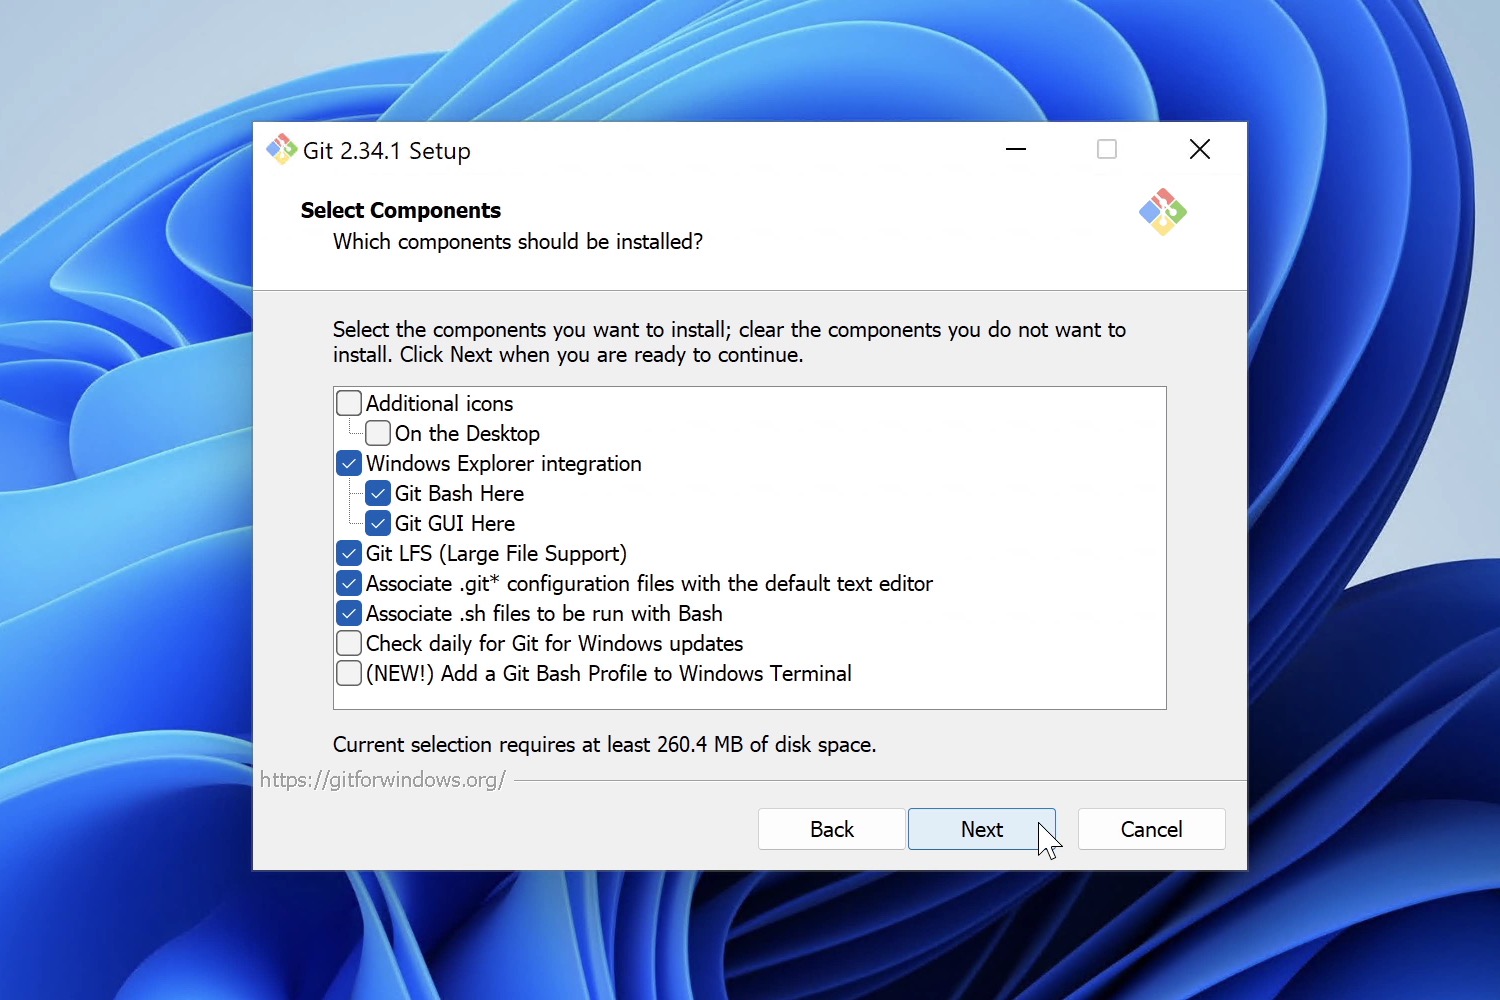
Select Components
On this screen, you can pick the components you would like to install. For instance, you can add the "Additional Icons" component if you want to have a Git Bash shortcut on the desktop.
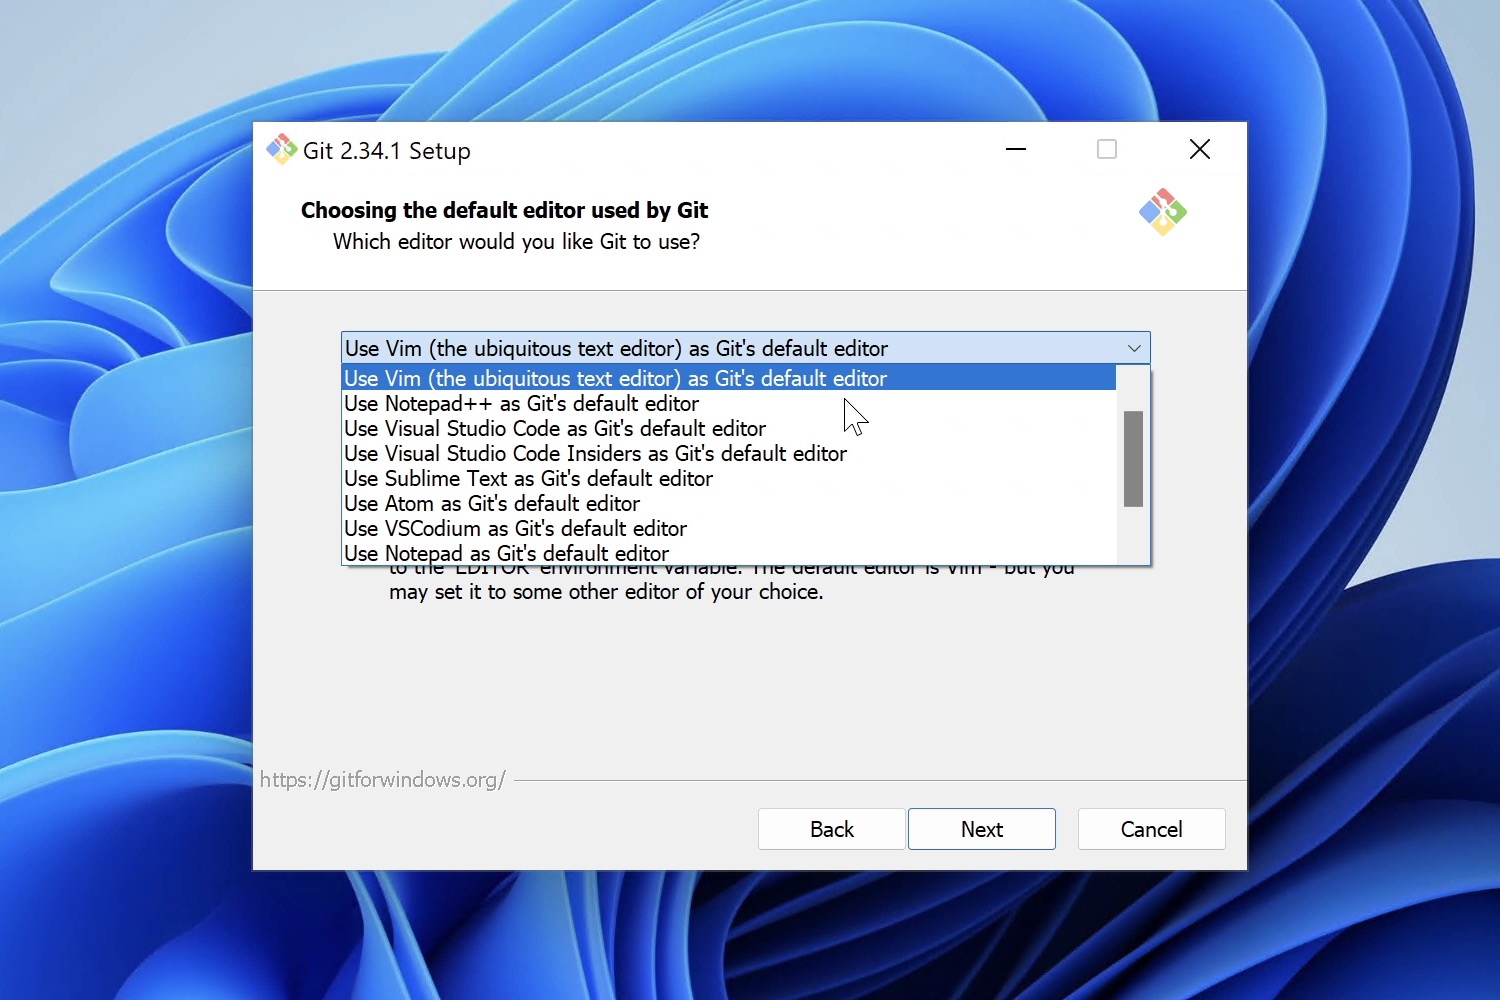
Choosing the Default Editor used by Git
You can use any text editor with Git. For historical reasons, Vim is the default option, but even the wizard recommends switching to a more modern GUI editor, like VS Code or Sublime Text.
We also suggest you pick a different one, unless you're comfortable with Vim already! Have a look at these suggestions if you haven't settled for a particular text editor yet.
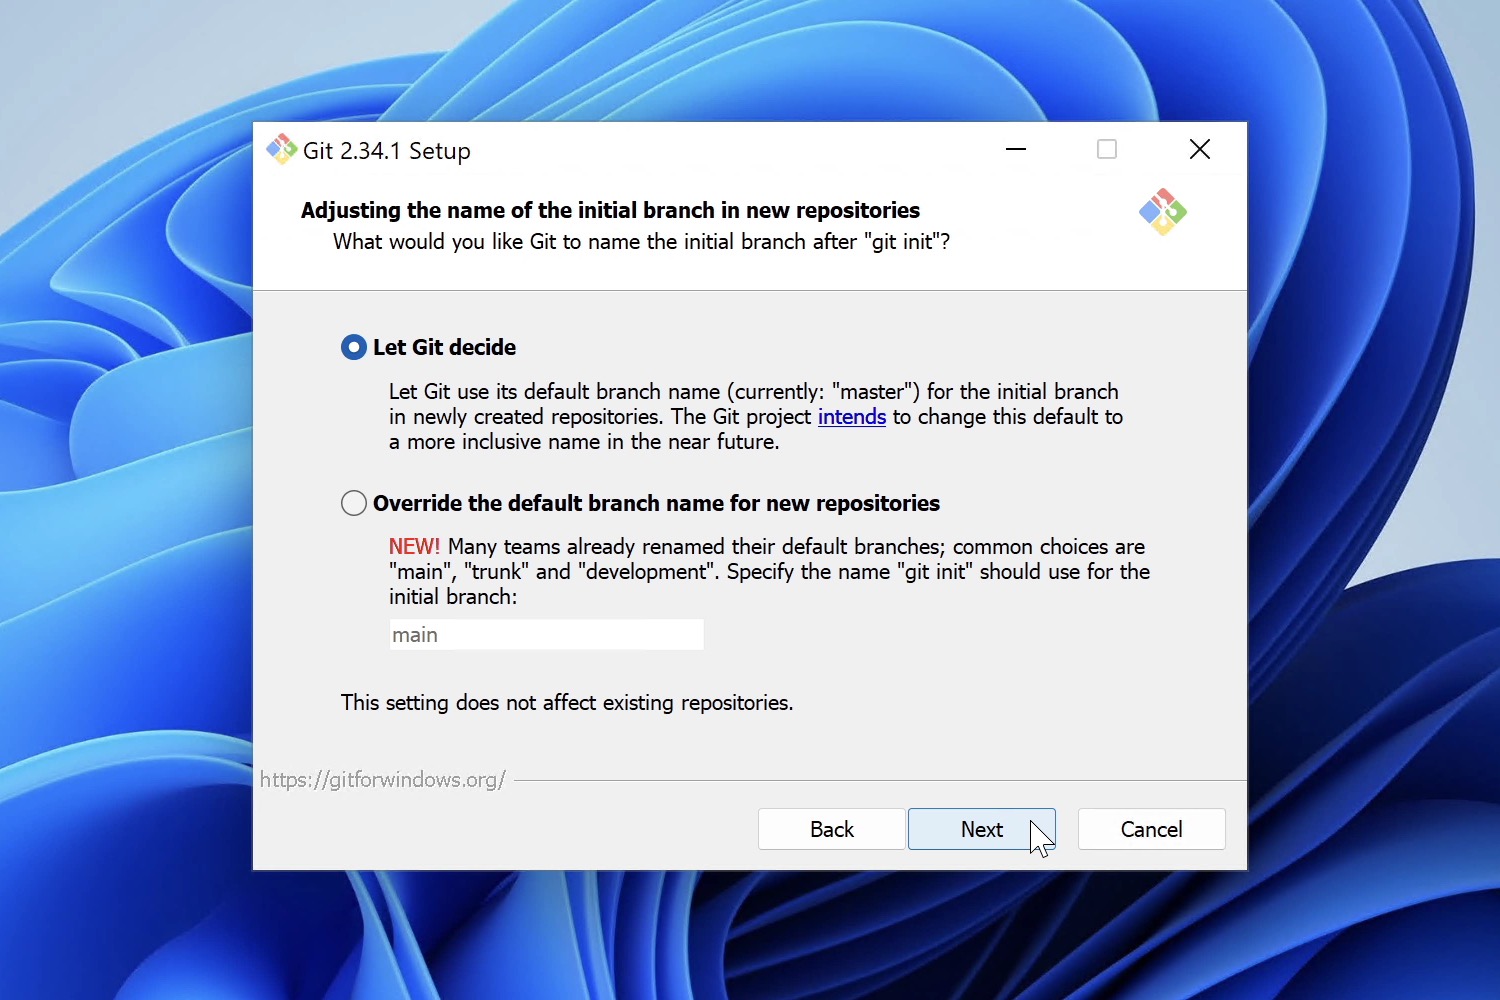
Adjusting the Name of the Initial Branch in New Repositories
When you initialize a new Git repository, you will have an initial branch created for you. The default branch name is "master"; because of the negative association with this word, that is bound to change soon — many organizations in the Git ecosystem, like GitHub or GitLab, are replacing "master" with "main".
While this won't affect existing repositories, you may want to select "Override the default branch name for new repositories" and type a different default branch name for new projects.
After carefully reviewing these questions, proceed until you complete the Setup Wizard.
If you leave "Launch Git Bash" selected, the Wizard will finish by launching the Git Bash Terminal. Otherwise, you can launch Git Bash from the Windows Start Menu or by right-clicking any folder and selecting the "Git Bash Here" option.
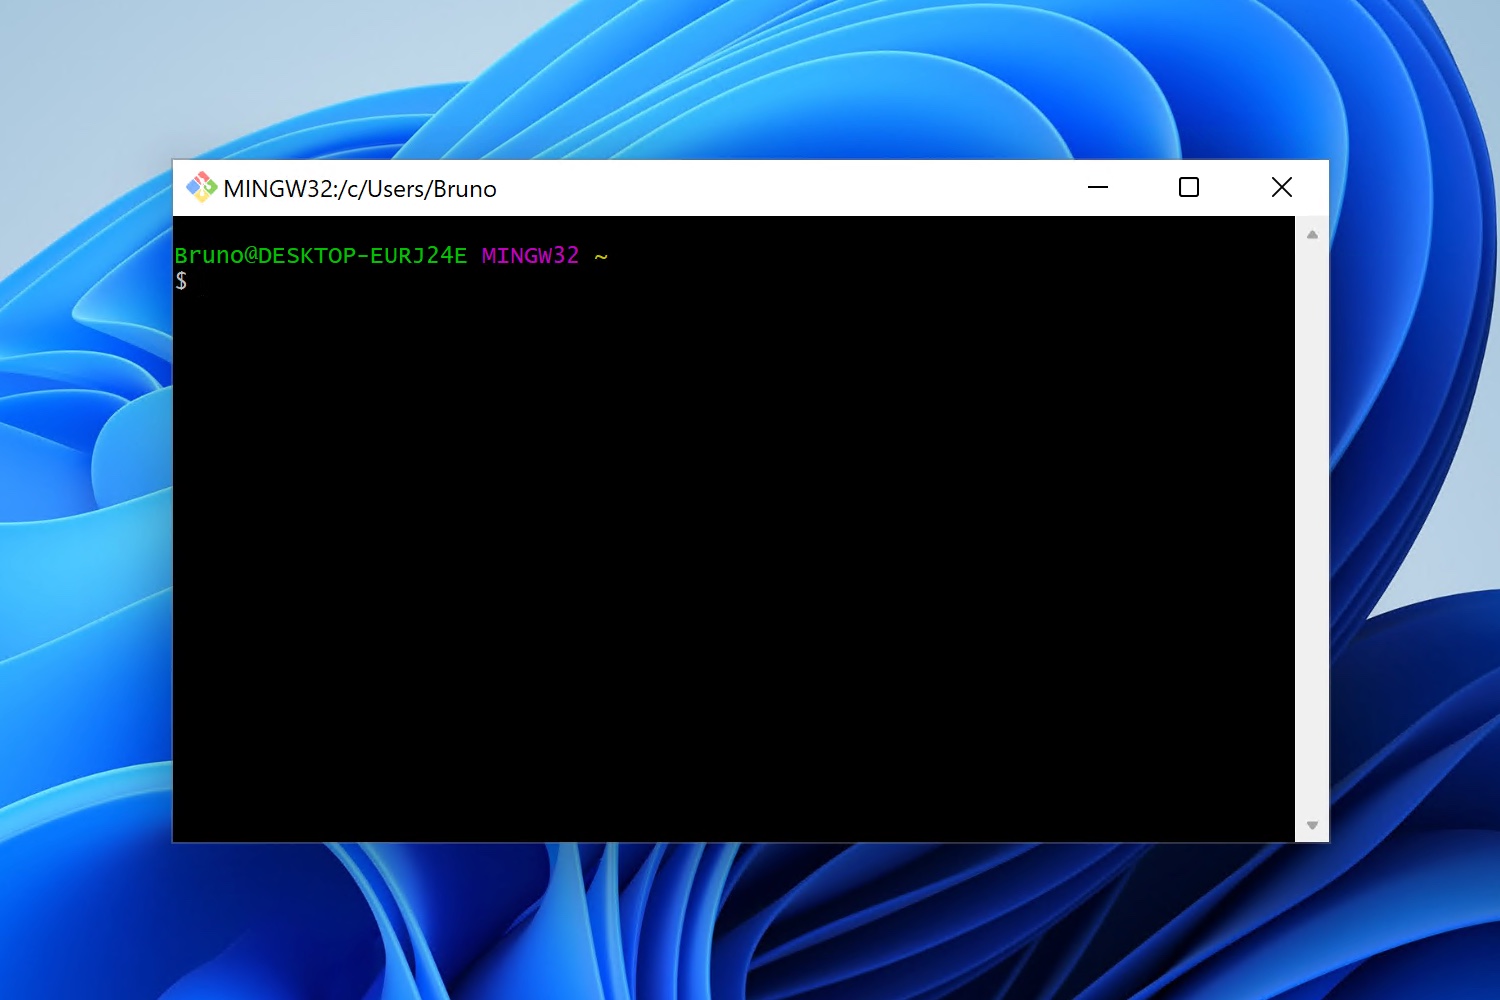
Once in the command line, you can confirm Git is installed by typing git --version (this will tell you the currently installed version). Git will now also work on CMD and Windows PowerShell.
We're almost there! There's just one more step...
Defining the Username and Email Address
Before we can start working with Git, we still need to define our username and email address. We will only be able to add commits after setting these options.
To set the username:
git config --global user.name "FIRST_NAME LAST_NAME"To set the email address:
git config --global user.email "MY_NAME@example.com"You can always review all the configuration items by typing:
git config --listIf you prefer, you can also edit these settings with a text editor. Git Bash installed nano, so we could type nano ~/.gitconfig to make some changes directly in the Terminal. When you're done, press CTRL + X to exit.
We're all set. Hooray! 🎉
Let's look into some basic Bash and Git commands next.
Not a Tower user yet?
Download our 30-day free trial and experience a better way to work with Git!
Basic Bash Commands
To be productive with Bash (or any other Shell), you will need to get comfortable with the Terminal. Practising — and a bit of patience — will be key.
Working with Files and Folders
Here are some essential commands you will use every day:
pwd— displays the path of your current working directory;cd <directory>— navigates to specified directory;cd ..— navigates to parent directory;ls— lists directory contents;mkdir <directory>— creates a new directory;touch <file>— creates a new file.
There are many others. I recommend you have a look at this guide to learn the most important commands to work with files and directories. There are also some examples to make it easier to follow along.
You can also download this useful cheat sheet which summarizes the most indispensable commands!
Working with Git
Let's shift gears to Git now. If you're new to Git, our online ebook would be a good starting point — it's aimed at beginners and it's free!
Git can be used in the command line or with the help of a Git GUI. Git clients can help you work faster with Git by offering a lot of visual aid and more intuitive commands, such as Drag and Drop. You can use both in combination.
Regardless of your Git experience, we suggest you give Tower (our Git client) a try. Tower is available for macOS and Windows and you can try it free for 30 days!
While we recommend Tower to become productive (and confident) with Git, due to its many advanced features, let's have a look at the most noteworthy Git commands you can type in the Terminal:
git init— creates a new local repository;git clone <repository>— clones an existing repository;git status— lists changed files in your working directory;git add .— adds all current changes to the next commit;git commit— commits previously staged files;git branch <new-branch>— creates a new branch based on your current HEAD;git checkout <branch>— switches to a different HEAD branch;git push <remote> <branch>— publishes local changes on a remote repository;git pull <remote> <branch>— downloads changes from a remote repository and integrates them into HEAD;git merge <branch>— merges the specific branch into your current HEAD.
We also provide a handy Git cheat sheet with the most essential actions listed.
Congratulations! You're now ready to explore the wonderful world of Git!
We have a lot of free documentation around Git. If you'd like to learn more, visit our Learn section to access videos, webinars and our online book. We share resources for both the Command Line Interface and Tower.