
Setting Up Git on Your Computer
There are two main ways of working with Git: either via its "Command Line Interface" or with a GUI application. Neither of these are right or wrong.
Command Line or GUI?
On the one hand, using a GUI application will make you more efficient and let you access more advanced features that would be too complex on the command line.
On the other hand, however, I recommend learning the basics of Git on the command line first. It helps you form a deeper understanding of the underlying concepts and makes you independent from any specific GUI application.
Cross Reference
In case the command line is all Greek to you, I've prepared a "Command Line 101" in the appendix for you that will show you the most important basics.
As soon as you're beyond the raw basics, you should consider using a GUI application to make your day-to-day work easier and more productive. We highly recommend that you have a look at Tower, the Git client that is trusted by over 80,000 users in companies like Apple, Google, Amazon, IBM, and Twitter.
You'll find a more detailed discussion on the topic of Desktop GUIS later in this book (see "Part 5: Tools & Services").
Installing Git on Windows and Mac OS
Installing Git has become incredibly easy in recent times. There are one-click installers for both Mac and Windows.
Installing Git on Windows
On Windows, you can download the "Git for Windows" package from here: git-for-windows.github.io
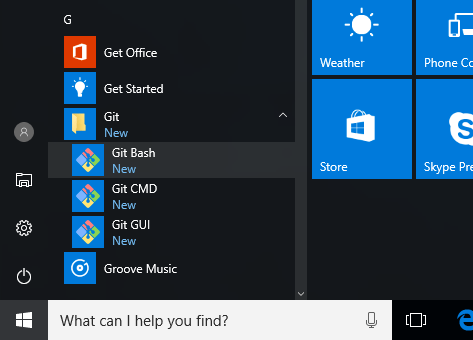
When running the installer EXE, you should choose the default options in each screen. After finishing the installation, you can begin working with Git by starting the "Git Bash" application. You'll find it in the Windows START menu, inside the "Git" folder:
Installing Git on Mac OS
On Mac OS X, a one-click installer package is available that can be downloaded from here: sourceforge.net/projects/git-osx-installer
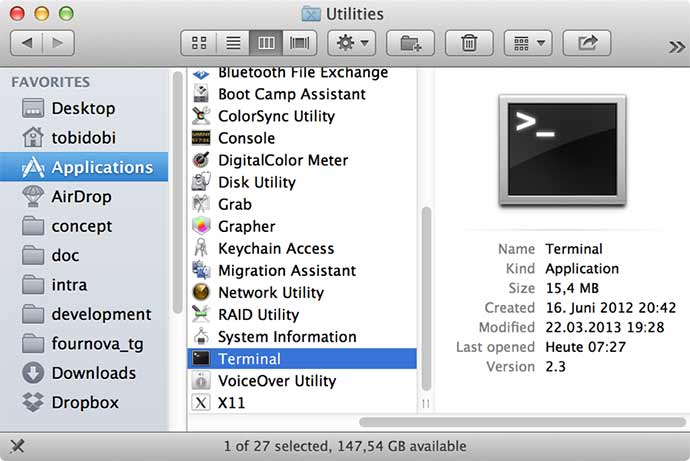
Once this is installed, you can jump right into Git by starting "Terminal.app" on your Mac. You'll find this in the "Utilities" subfolder of your "Applications" folder in Finder:
Configuring Git
A couple of very basic configurations should be made before you get started. You should set your name and email address as well as enable coloring to pretty up command outputs:
$ git config --global user.name "John Doe"
$ git config --global user.email "john@doe.org"
$ git config --global color.ui auto
Note
In this book, like in many others, the "$" sign represents the prompt of the command line interface (you don't have to type this character in your commands!). Therefore, any time you see a line starting with the "$" sign, it means we're executing commands in "Terminal" or "Git Bash".
Additionally, I recommend having a Cheat Sheet on your desk(top) so you don't have to remember all the commands by heart.
Get our popular Git Cheat Sheet for free!
You'll find the most important commands on the front and helpful best practice tips on the back. Over 100,000 developers have downloaded it to make Git a little bit easier.

About Us
As the makers of Tower, the best Git client for Mac and Windows, we help over 100,000 users in companies like Apple, Google, Amazon, Twitter, and Ebay get the most out of Git.
Just like with Tower, our mission with this platform is to help people become better professionals.
That's why we provide our guides, videos, and cheat sheets (about version control with Git and lots of other topics) for free.