
Workflows with git-flow
When using version control in a team, it's crucial to agree on a workflow. Git in particular allows to do lots of things in lots of ways. However, if you don't use a common workflow in your team, confusion is inevitable.
In principle, you're free to define your workflow of choice just as you want it - or you simply adopt an existing one.
In this chapter, we'll look at a workflow that has become quite popular in recent years: "git-flow".
What is git-flow?
git-flow provides you with a handful of extra commands. Each of these commands performs multiple tasks automatically and in a predefined order. And voila - there we have our workflows!
git-flow is by no means a replacement for Git. It's just a set of scripts that combine standard Git commands in a clever way.
Strictly speaking, you wouldn't even have to use the scripts to use git-flow(-like) workflows: you could easily learn which workflow involves which individual tasks - and simply perform these Git commands (with the right parameters and in the right order) on your own. The git-flow scripts, however, save you from having to memorize all of this.
Installing git-flow
A couple of different forks of git-flow have emerged in recent years. In this chapter, we're using one of the most popular ones: the AVH Edition.
Using Tower, you don't have to install anything as the app already includes the git-flow scripts.
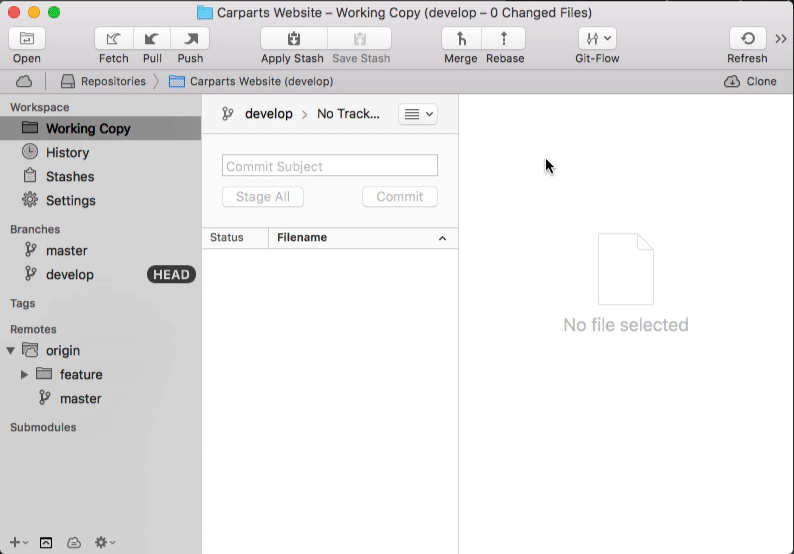
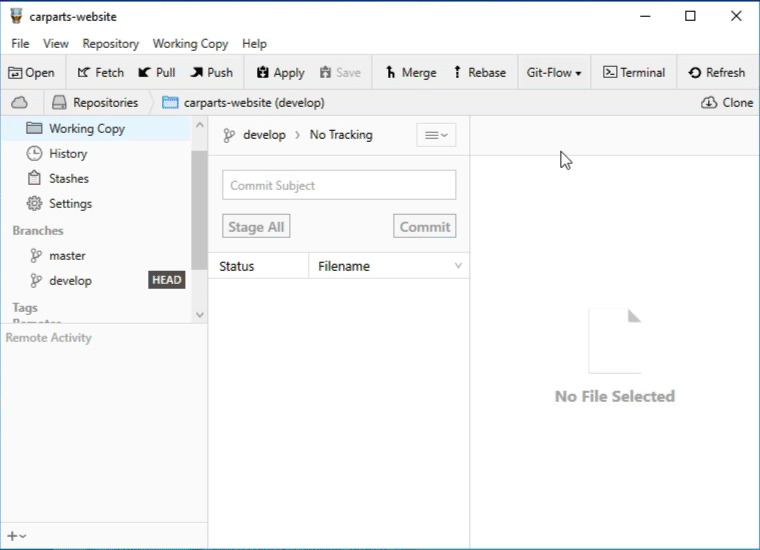
Setting Up git-flow in a Project
When you "switch on" git-flow in a project, Git still works the same way in this repository. It is totally up to you to use special git-flow commands and normal Git commands in this repository side by side. Put another way, git-flow doesn't alter your repository in any dramatic way.
That being said, however, git-flow indeed expects some conventions. Let's initialize it in a new project and we'll instantly see.
In Tower, either activate the "Git Flow" tab in the "Settings" area - or simply click the "Git-Flow" button in the toolbar.


You can then enable git-flow and will see the following configuration dialog:


Although you can enter any names you like, I strongly suggest you stick with the default naming scheme - unless you have a very good reason to stray off the defaults.
Branching Model
The git-flow model expects two main branches in a repository:
- master always and exclusively contains production code. You don't work directly on the master branch but instead in designated, separate feature branches (which we'll talk about in a minute). Not committing directly to the master branch is a common hygiene rule in many workflows.
- develop is the basis for any new development efforts you make: when you start a new feature branch it will be based on develop. Additionally, this branch also aggregates any finished features, waiting to be integrated and deployed via master.

These two branches are so-called long-running branches: they remain in your project during its whole lifetime. Other branches, e.g. for features or releases, only exist temporarily: they are created on demand and are deleted after they've fulfilled their purpose.

Let's start exploring all of this in some real-world use cases.
Feature Development
Working on a feature is by far the most common task for any developer. That's why git-flow offers a couple of workflows around feature development that help do this in an organized way.
Starting a New Feature
Let's start working on a new "rss-feed" feature. Click the "Git-Flow" button in Tower's toolbar and select "Start Feature".
git-flow now created a new branch called "feature/rss-feed" (the "feature/" prefix was one of the configurable options on setup). As you already know, using separate branches for your feature development is one of the most important ground rules in version control.
git-flow also directly checks out the new branch so you can jump right into work.
Finishing a Feature
After some time of hard work and a number of clever commits, our feature is finally done. Right-click the feature branch in Tower's sidebar and select "Git-Flow Finish Feature 'rss-feed'".


Most importantly, the "feature finish" command integrates our work back into the main "develop" branch. There, it waits...
- ...to be thoroughly tested in the broader "develop" context.
- ...to be released at a later time with all the other features that accumulate in the "develop" branch.
git-flow also cleans up after us: it deletes the (now obsolete) feature branch and checks out the "develop" branch.
Managing Releases
Release management is another important topic that version control deals with. Let's look at how to create and publish releases with git-flow.
Creating a New Release
Do you feel that your current code on the "develop" branch is ripe for a new release? This should mean that it (a) contains all the new features and fixes and (b) has been thoroughly tested. If both (a) and (b) are true, you're ready to start a new release.
To do so, click the "Git-Flow" button in the toolbar and select "Start Release".


Note that release branches are named using version numbers. In addition to being an obvious choice, this naming scheme has a nice side-effect: git-flow can automatically tag the release commit appropriately when we later finish the release.
With a new release branch in place, popular last preparations include bumping the version number (if your type of project keeps note of the version number somewhere in a file) and making any last-minute adaptions.
Finishing the Release
It's time to hit the danger button and finish our release: again, right-click the release branch in Tower's sidebar and choose "Git-Flow Finish Release".
This triggers a couple of actions:
- First, git-flow pulls from the remote repository to make sure you are up-to-date.
- Then, the release content is merged back into both "master" and "develop" (so that not only the production code is up-to-date, but also new feature branches will be based off the latest code).
- To easily identify and reference it later, the release commit is tagged with the release's name ("1.1.5" in our case).
- To clean up, the release branch is deleted and we're back on "develop".
From Git's point of view, the release is now finished. Depending on your setup, committing on "master" might have already triggered your deployment process - or you now manually do anything necessary to get your software product into the hands of your users.
Hotfixes
As thoroughly tested as your releases might be: all too often, just a couple of hours or days later, a little bug might nonetheless show its antennas. For cases like these, git-flow offers the special "hotfix" workflow (since neither a "feature" branch nor a "release" branch would be appropriate).
Creating Hotfixes
As before, the "Git-Flow" button in the toolbar is our starting point: choose "Start Hotfix" from the menu and, for our example, name the hotfix "missing-link".
This creates a new branch named "hotfix/missing-link". Since we need to fix production code, the hotfix branch is based off of "master". This is also the most obvious distinction from release branches, which are based off of the "develop" branch. Because you wouldn't want to base a production hotfix on your (still unstable) develop code...
Just like with a release, however, we bump up our project's version number and - of course - fix that bug!
Finishing Hotfixes
With our solution committed to the hotfix branch, it's time to wrap up: simply right-click the hotfix branch in Tower's sidebar and choose "Git Flow Finish Hotfix".
The procedure in the background is very similar to finishing a release:
- The changes are merged both into "master" as well as into "develop" (to make sure the bug doesn't slip into the next release, again).
- The hotfix is tagged for easy reference.
- The branch is deleted and "develop" is checked out again.
As with a release, now's the time to build / deploy your product (in case this hasn't already been triggered automatically).
Workflows: A Recap
Let me finish this chapter by stressing an important point once more: git-flow doesn't add any functionality on top of Git. It's simply a set of scripts that bundle Git commands into workflows.
However, agreeing on a fixed process makes collaborating in a team much easier: everybody, from the "Git pro" to the "version control newbie", knows how certain tasks ought to be done.
Keep in mind, though, that you don't have to use git-flow to achieve this: often, after some time and experience, teams notice that they don't need git-flow anymore. Once the basic parts and goals of a workflow are understood, you're free to define your own.
Get our popular Git Cheat Sheet for free!
You'll find the most important commands on the front and helpful best practice tips on the back. Over 100,000 developers have downloaded it to make Git a little bit easier.

About Us
As the makers of Tower, the best Git client for Mac and Windows, we help over 100,000 users in companies like Apple, Google, Amazon, Twitter, and Ebay get the most out of Git.
Just like with Tower, our mission with this platform is to help people become better professionals.
That's why we provide our guides, videos, and cheat sheets (about version control with Git and lots of other topics) for free.