
Working on Your Project
No matter if you created a brand new repository or if you cloned an existing one - you now have a local Git repository on your computer. This means you're ready to start working on your project: use whatever application you want to change, create, delete, move, copy, or rename your files.
Concept
The Status of a File
In general, files can have one of two statuses in Git:
- untracked: a file that is not under version control, yet, is called "untracked". This means that the version control system doesn't watch for (or "track") changes to this file. In most cases, these are either files that are newly created or files that are ignored and which you don't want to include in version control at all.
- tracked: all files that are already under version control are called "tracked". Git watches these files for changes and allows you to commit or discard them.
The Staging Area
At some point after working on your files for a while, you'll want to save a new version of your project. Or in other words: you'll want to commit some of the changes you made to your tracked files.
The Golden Rules of Version Control
No. 1: Commit Only Related Changes
When crafting a commit, it's very important to only include changes that belong together. You should never mix up changes from multiple, different topics in a single commit. For example, imagine wrapping both some work for your new login functionality and a fix for bug #122 in the same commit:
- Understanding what all those changes really mean and do gets hard for your teammates (and, after some time, also for yourself). Someone who's trying to understand the progress of that new login functionality will have to untangle it from the bugfix code first.
- Undoing one of the topics gets impossible. Maybe your login functionality introduced a new bug. You can't undo just this one without undoing your work for fix #122, also!
Instead, a commit should only wrap related changes: fixing two different bugs should produce (at the very least) two separate commits; or, when developing a larger feature, every small aspect of it might be worth its own commit.
Small commits that only contain one topic make it easier for other members of your team to understand the changes - and to possibly undo them if something went wrong.
However, when you're working full-steam on your project, you can't always guarantee that you only make changes for one and only one topic. Often, you work on multiple aspects in parallel.
This is where the "Staging Area", one of Git's greatest features, comes in very handy: it allows you to determine which of your local changes shall be committed. Because in Git, simply making some changes doesn't mean they're automatically committed. Instead, every commit is "hand-crafted": each change that you want to include in the next commit has to be marked explicitly ("added to the Staging Area" or, simply put, "staged").

Getting an Overview of Your Changes
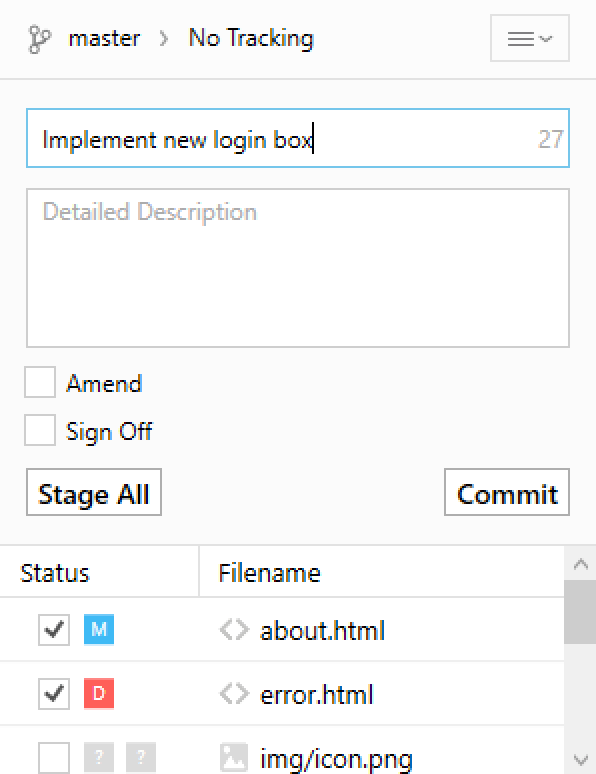
Let's have a look at what we've done so far. To get an overview of what you've changed since your last commit, you simply activate the Working Copy view in Tower's sidebar:
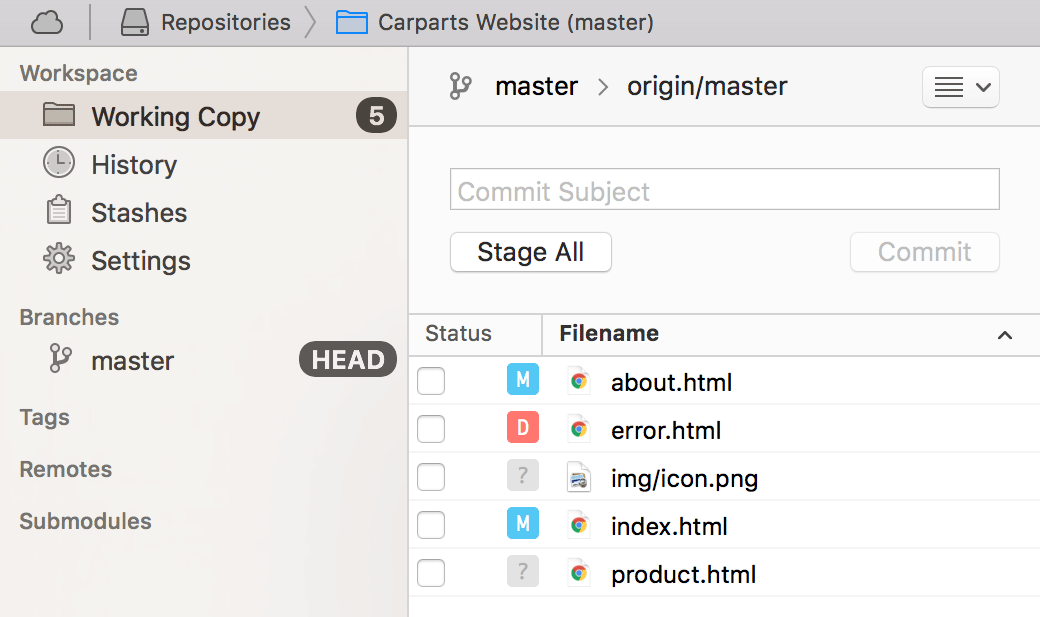
The list of files shows you all of your recent modifications. Additionally, the colored little icons tell you how the file was changed:
- "M" marks a modification
- "D" marks a deletion
- "?" marks an untracked / new file
- ...
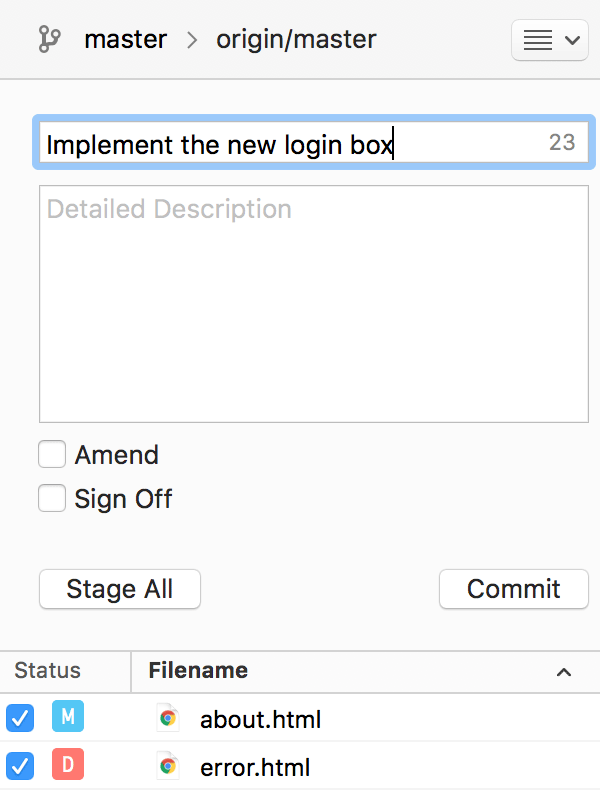
Getting Ready to Commit
Now it's time to craft a commit by staging some changes. You can do so by clicking the checkbox in the "Status" column:
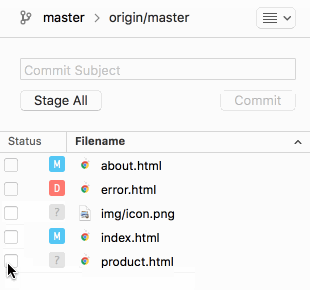
Note that the colored icons moved to the left side - which means that the contents are staged.
Assuming that the changes in "icon.png" concerned a different topic than the rest, we've deliberately left them unstaged. That way, they won't be included in our next commit and simply remain as local changes. We can then continue to work on them and maybe commit them later.
Committing Your Work
Having carefully prepared the Staging Area, there's only one thing left before we can actually commit: we need a good commit message.
The Golden Rules of Version Control
No. 2: Write Good Commit Messages
Time spent on crafting a good commit message is time spent well: it will make it easier to understand what happened for your teammates (and after some time also for yourself).
Begin your message with a short summary of your changes (up to 50 characters as a guideline). Separate it from the following body by including a blank line. The body of your message should provide detailed answers to the following questions: What was the motivation for the change? How does it differ from the previous version?
Enter your message in the commit message's subject field.
If you have more to say, you can use the body field to enter an detailed description about what you did.
Finally, confirm the commit by clicking the "Commit" button.
Concept
What Makes a Good Commit?
The better and more carefully you craft your commits, the more useful will version control be for you. Here are some guidelines about what makes a good commit:
-
Related Changes
As stated before, a commit should only contain changes from a single topic. Don't mix up contents from different topics in the same commit. This will make it harder to understand what happened. -
Completed Work
Never commit something that is half-done. If you need to save your current work temporarily in something like a clipboard, you can use Git's "Stash" feature (which will be discussed later in the book). But don't eternalize it in a commit. -
Tested Work
Related to the point above, you shouldn't commit code that you think is working. Test it well - and before you commit it to the repository. -
Short & Descriptive Messages
A good commit also needs a good message. See the paragraph above on how to "Write Good Commit Messages" for more about this.
Finally, you should make it a habit to commit often. This will automatically help you to keep your commits small and only include related changes.
Inspecting the Commit History
Git saves every commit that is ever made in the course of your project. Especially when collaborating with others, it's important to see recent commits to understand what happened.
Note
Later in this book, in the Sharing Work via Remote Repositories chapter, we‘ll talk about how to exchange data with your coworkers.
Activate the History view in Tower's sidebar to display the project's commit history. It lists the commits in chronological order, beginning with the newest item:

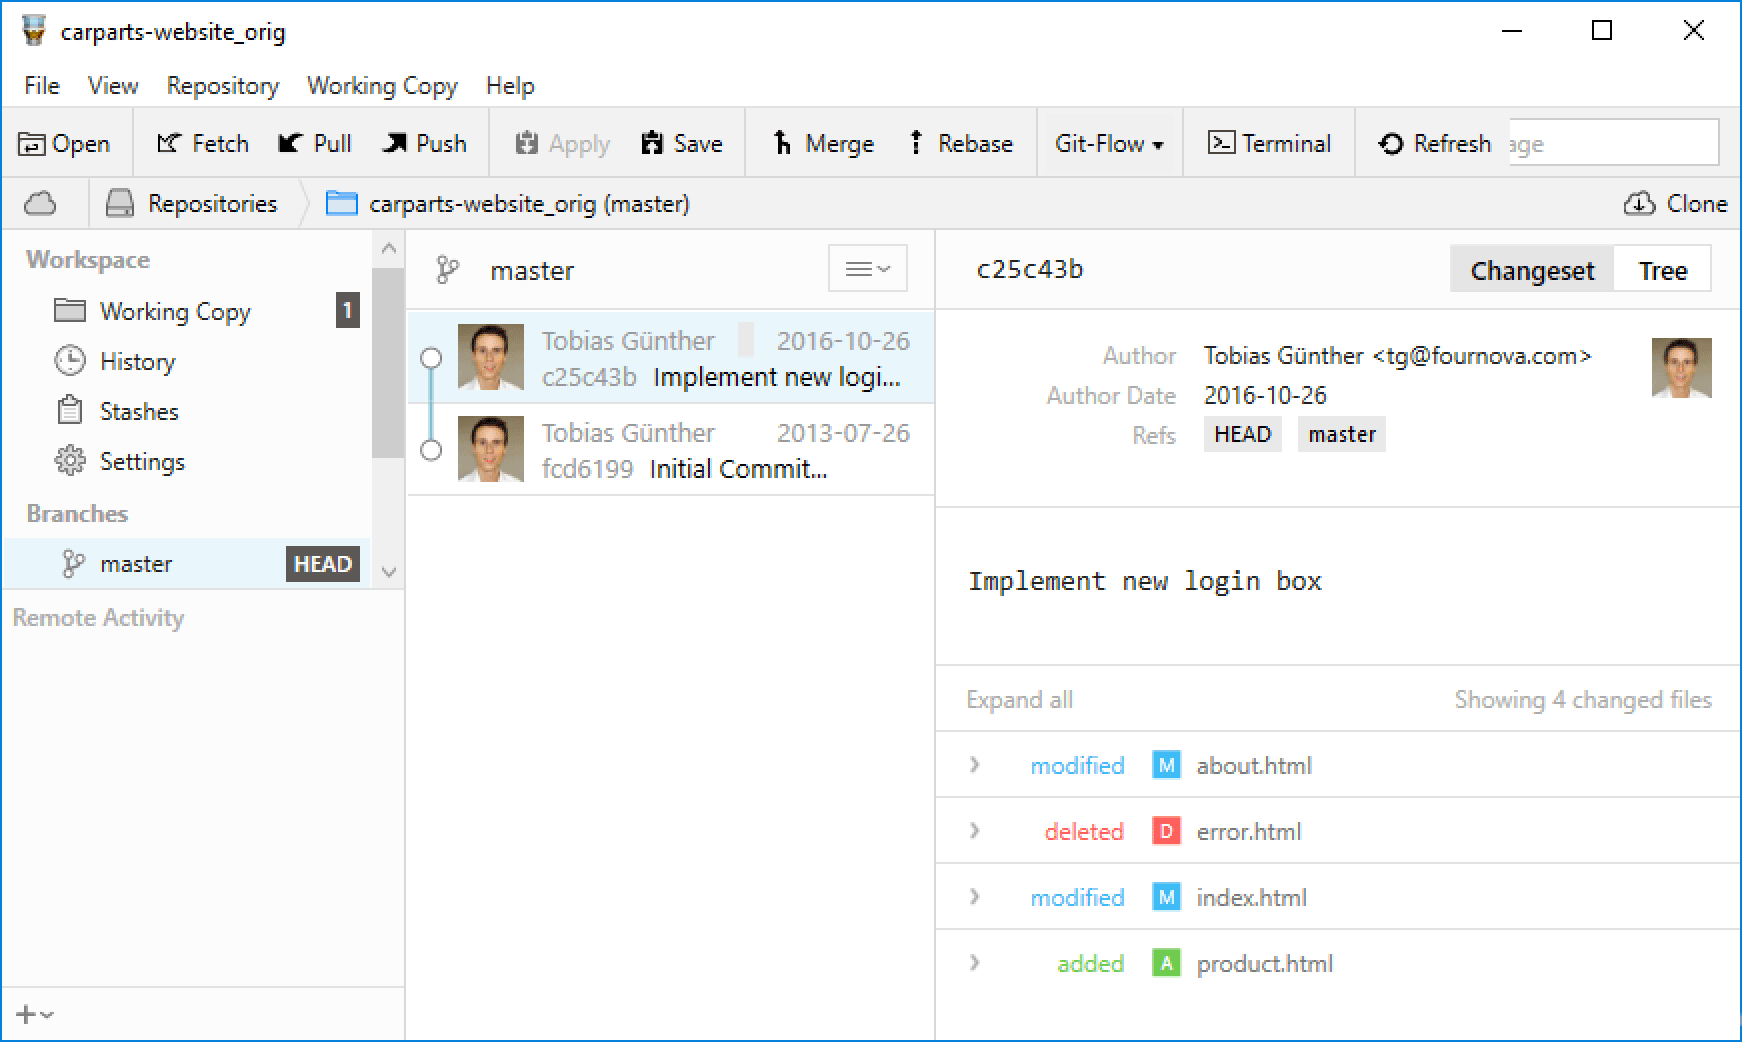
Every commit item consists (amongst other things) of the following metadata:
- Commit Hash
- Author Name & Email
- Date
- Commit Message
Glossary
The Commit Hash
Every commit has a unique identifier: a 40-character checksum called the "commit hash". While in centralized version control systems like Subversion or CVS, an ascending revision number is used for this, this is simply not possible anymore in a distributed VCS like Git: The reason herefore is that, in Git, multiple people can work in parallel, committing their work offline, without being connected to a shared repository. In this scenario, you can't say anymore whose commit is #5 and whose is #6.
Since in most projects, the first 7 characters of the hash are enough for it to be unique, referring to a commit using a shortened version is very common.
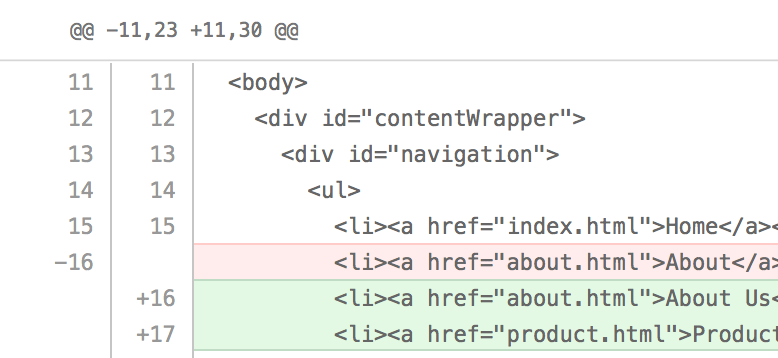
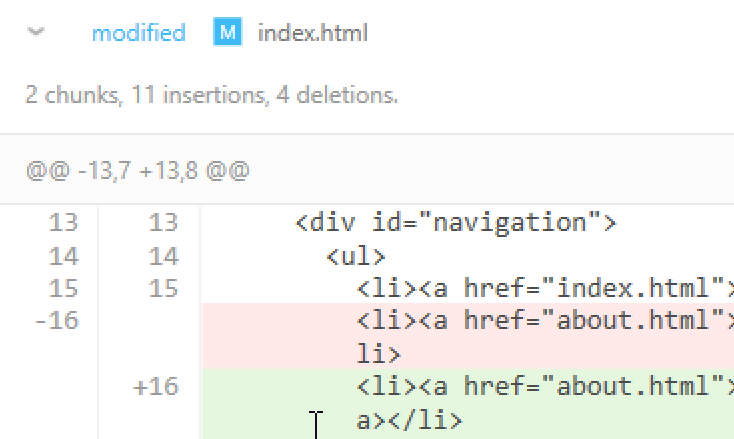
Apart from this metadata, Git also allows you to inspect the detailed changes that happened in each commit:
Later in this book, we'll learn how to interpret this kind of output in the chapter Inspecting Changes in Detail with Diffs.
Time to Celebrate
Congratulations! You've just taken the first step in mastering version control with Git! Pat yourself on the back and grab a beer before moving on.
Get our popular Git Cheat Sheet for free!
You'll find the most important commands on the front and helpful best practice tips on the back. Over 100,000 developers have downloaded it to make Git a little bit easier.

About Us
As the makers of Tower, the best Git client for Mac and Windows, we help over 100,000 users in companies like Apple, Google, Amazon, Twitter, and Ebay get the most out of Git.
Just like with Tower, our mission with this platform is to help people become better professionals.
That's why we provide our guides, videos, and cheat sheets (about version control with Git and lots of other topics) for free.